Unlock Unbeatable Juiciness: The Ultimate Chicken Brine Recipe
There's nothing quite as disappointing as anticipating a perfectly roasted, grilled, or fried chicken, only to cut into it and discover dry, bland meat. If you've ever faced this culinary dilemma, then mastering a reliable chicken brine recipe is about to revolutionize your cooking. Brining is a time-tested technique that promises deeply seasoned, incredibly tender, and consistently juicy poultry, transforming even lean cuts like chicken breasts into succulent delights.
This comprehensive guide will equip you with the precise knowledge to brine any cut of chicken, ensuring fantastic results every single time. We'll delve into the exact salt ratios (a sweet spot of 5-6%), optimal timing for various cuts, and practical steps to guarantee your chicken comes out moist, flavorful, and unforgettable. Say goodbye to dry chicken forever!
The Science of Succulence: How a Wet Brine Transforms Chicken
At its heart, a wet brine is a simple solution of salt and water, often enhanced with sugar and aromatics. But its effect on chicken is anything but simple—it's a marvel of food science. When chicken is submerged in this saline solution, two primary processes occur:
- Moisture Absorption & Retention: Through osmosis, the chicken absorbs some of the brining liquid. More importantly, the salt causes the muscle proteins (myosin and actin) to denature, or unwind. This unwinding loosens the muscle fibers and creates more space within the meat's structure. These new spaces then trap water molecules, allowing the meat to hold onto significantly more moisture during cooking. This is why even when cooked to a safe internal temperature, brined chicken remains incredibly juicy, resisting the natural tendency to dry out.
- Deep Seasoning: Salt doesn't just stay on the surface; it penetrates the meat, seasoning it from within. This means every bite, from the skin to the bone, will be flavorful, eliminating the dreaded "bland interior" syndrome. Optional additions like sugar, herbs, and spices further infuse the meat with complex flavors, creating a truly gourmet experience.
While dry brining (applying salt directly to the chicken) is another effective method, a wet brine offers superior moisture retention and deep flavor infusion, making it an excellent choice for preventing dry meat and ensuring rich seasoning throughout. For a deeper dive into the science of why brining works and how it affects poultry, explore our article on How to Brine Chicken: Get Juicy, Flavorful Meat Every Time.
Your Go-To Chicken Brine Recipe: The Core Formula
The foundation of an outstanding chicken brine recipe is a perfectly balanced salt solution. Our recommended range of 5-6% salt by weight ensures deep seasoning without over-salting, making it adaptable for various cuts and brining durations. Here’s the basic formula, designed for accuracy and easy scaling:
Basic Wet Brine Ingredients (for 1 Liter of Water):
- Water: 1 liter (approximately 4 cups) – Use cold water to start.
- Kosher Salt: 50–60 grams (about 3–4 tbsp Diamond Crystal Kosher Salt; 2.5–3 tbsp Morton Kosher Salt).
- Ratio Note: A 5% salt solution uses 50g salt per 1000g (1 liter) of water. A 6% solution uses 60g salt. It's crucial to measure by weight for accuracy, as different brands of kosher salt have varying densities. If using table salt, which is much denser and tastes saltier, start at the lower end (around 25-30g or 1.5-2 tbsp) and taste carefully.
- Sugar (Optional, but Recommended): 15–25 grams (1–2 tbsp) – Sugar helps balance the savoriness, promotes browning, and can slightly enhance moisture retention.
- Aromatics (Optional, for Enhanced Flavor): Experiment with combinations like:
- 2-3 bay leaves
- 6-8 whole black peppercorns
- 2-3 smashed garlic cloves
- A few sprigs of fresh rosemary, thyme, or sage
- Strips of citrus peel (lemon, orange)
- A teaspoon of whole coriander or fennel seeds
To make more or less brine, simply maintain the 5-6% salt ratio. For instance, for 2 liters of water, you'd use 100-120g of kosher salt.
Exact Timing and Brine Strength for Every Chicken Cut
The beauty of a precise chicken brine recipe lies in its adaptability. Different cuts of chicken require different brining times and can benefit from slightly varying salt concentrations due to their size, bone structure, and fat content. Generally, shorter brining times pair well with a 6% solution for a quick flavor boost, while longer soaks are best with a 5% solution to prevent over-salting.
Brine Ratios and Timing by Cut:
- Whole Chicken (1.3–2 kg / 3-4.5 lbs):
- Brine Strength: 5%
- Time: 8–12 hours
- Tip: For a larger bird, ensure it's fully submerged.
- Spatchcock Whole Chicken (Butterflied):
- Brine Strength: 5–6%
- Time: 6–10 hours
- Tip: The flattened shape allows for quicker, more even brining.
- Bone-in Thighs or Leg Quarters:
- Brine Strength: 5–6%
- Time: 3–6 hours
- Tip: These fattier cuts handle slightly longer brining well, developing rich flavor.
- Drumsticks:
- Brine Strength: 5–6%
- Time: 2–4 hours
- Tip: Shorter than thighs due to less overall mass.
- Boneless Chicken Breasts:
- Brine Strength: 5–6%
- Time: 1–2 hours
- Tip: Breasts are lean and soak up salt quickly; do not over-brine to avoid a rubbery texture.
- Chicken Wings:
- Brine Strength: 6%
- Time: 1–2 hours
- Tip: A higher concentration for a shorter time delivers maximum flavor to these smaller pieces.
For more detailed insights on achieving the perfect salt balance for tender poultry, refer to Mastering Chicken Brine: Perfect Salt Ratios for Tender Poultry.
Step-by-Step Brining Process for Flawless Results
Executing your chicken brine recipe properly involves a few critical steps to ensure food safety and optimal flavor infusion.
1. Dissolve the Salt and Sugar (if using)
To ensure all the salt and sugar fully dissolve, warm a small portion (about 1-2 cups) of your total water. Add the salt, sugar, and any dry aromatics (like bay leaves or peppercorns). Stir vigorously until everything is completely dissolved. Once dissolved, add the remaining cold water and any fresh aromatics (herbs, citrus peel) to bring the solution to a cool temperature.
2. Chill the Brine Fully
Temperature control is paramount for food safety. The brine must be refrigerator-cold before the chicken is introduced. If your water isn't already cold, add a generous amount of ice to the solution until it reaches a temperature of 40°F (4°C) or below. Never place raw chicken into lukewarm brine, as this creates a breeding ground for bacteria.
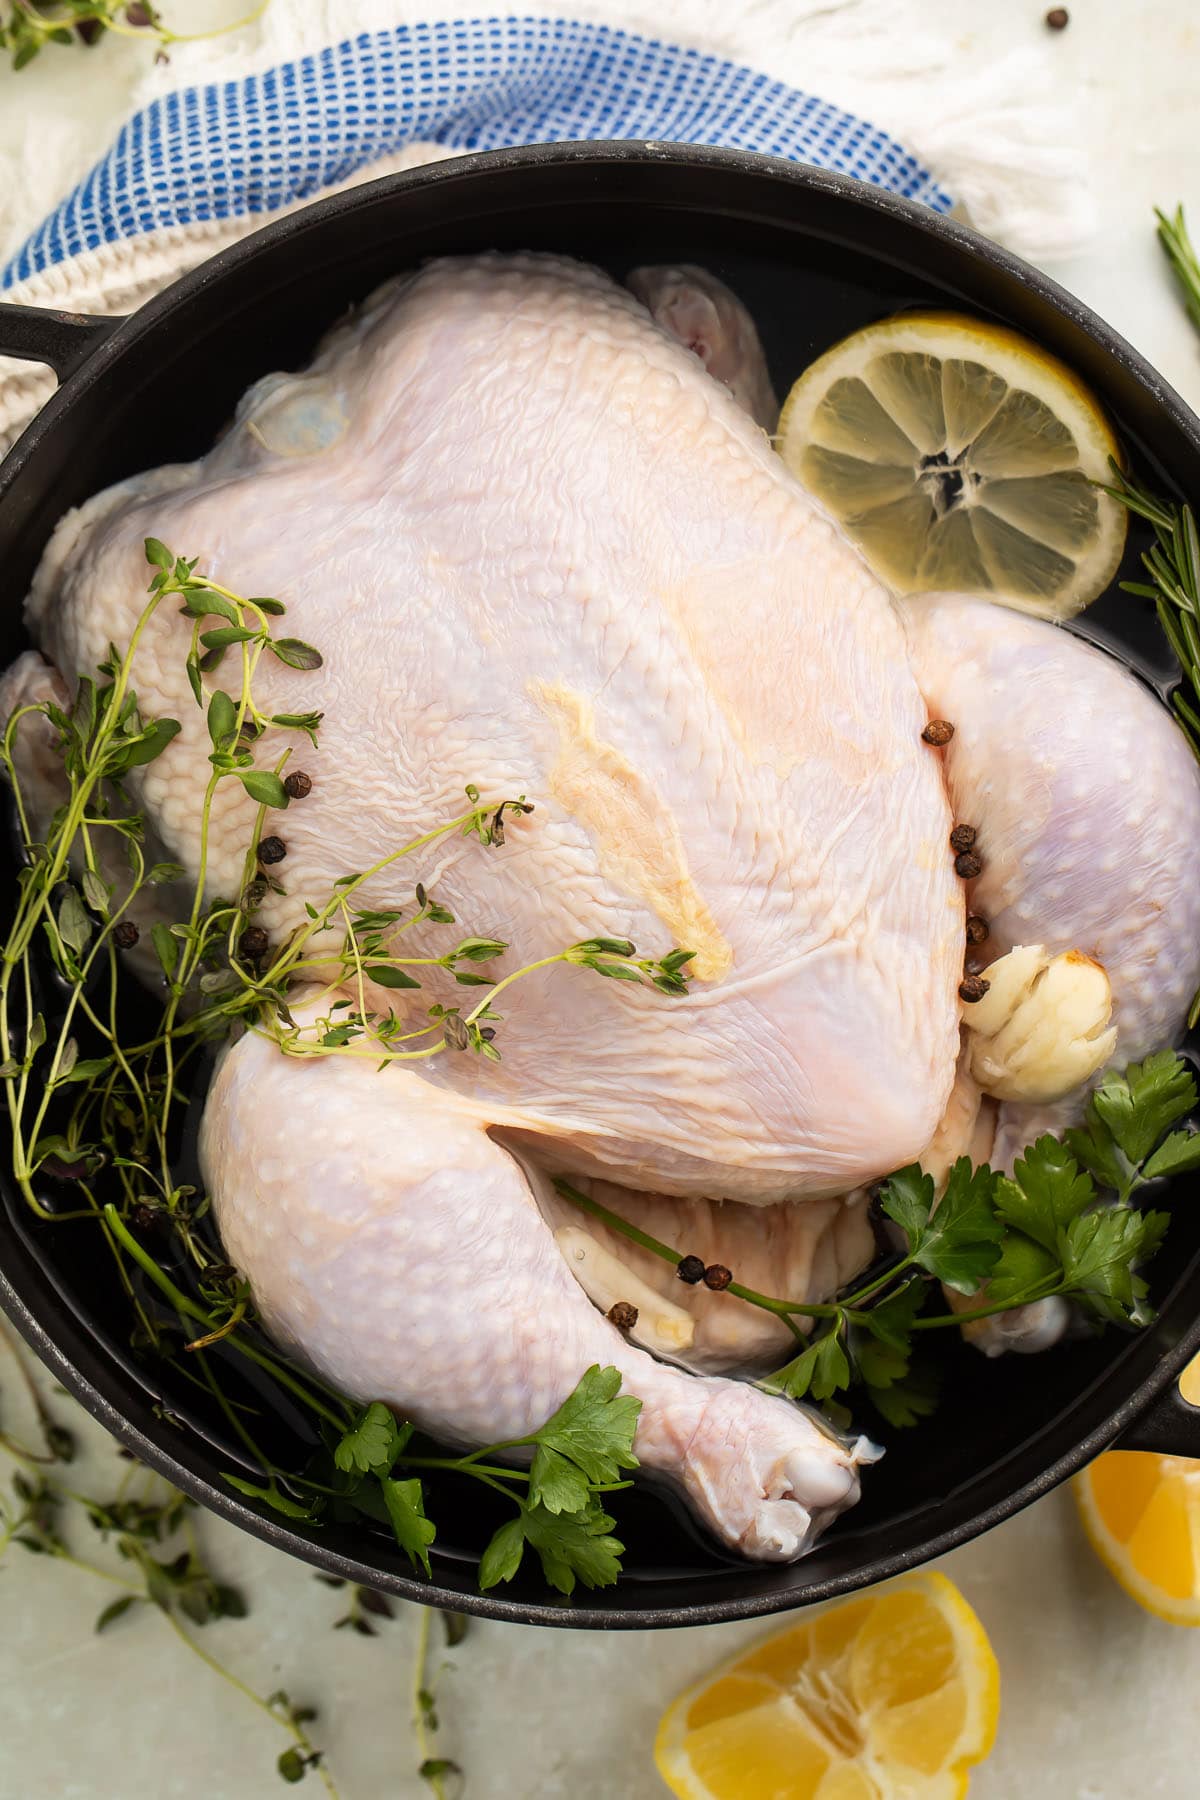
3. Submerge the Chicken Safely
Place your chicken cut(s) into a clean, food-grade, non-reactive container (glass, ceramic, or food-safe plastic are ideal). Pour the chilled brine over the chicken, ensuring it is completely submerged. If the chicken floats, place a small plate or a resealable bag filled with water on top to weigh it down. Cover the container and refrigerate for the recommended brining time for your specific cut.
4. Rinse (Optional) and Thoroughly Dry
After the brining time is complete, remove the chicken from the brine. For a 6% brine or if you're concerned about surface saltiness, a quick rinse under cold running water can be beneficial. Pat the chicken thoroughly dry with paper towels. Drying is a crucial step, especially if you desire crispy skin when roasting or frying. Excess moisture inhibits browning and crisping.
After brining and drying, proceed with your desired cooking method—roasting, grilling, frying, or smoking. You'll notice a remarkable difference in both texture and taste!
Beyond the Basics: Pro Tips for Your Chicken Brine Recipe
Elevate your brining game with these additional insights:
- Salt Quality Matters: While the ratio is key, the type of salt can impact the outcome. Kosher salt (especially Diamond Crystal) is preferred for its pure flavor and easy dissolution. Avoid iodized table salt unless you adjust quantities significantly, as it can impart a metallic taste and is much saltier by volume.
- Consider Sugars: Beyond white sugar, try brown sugar, maple syrup, or honey for different flavor notes and enhanced browning.
- Experiment with Liquids: For adventurous cooks, consider replacing a portion of the water with beer, cider, or even a low-sodium broth for extra depth of flavor.
- Don't Re-use Brine: For food safety, discard used brine immediately after removing the chicken. Never re-use it.
- Watch for Over-Brining: While brining is beneficial, over-brining can lead to overly salty or even mushy meat. Stick to the recommended times, especially for delicate cuts like breasts.
Conclusion
A well-executed chicken brine recipe is truly the secret weapon in any home cook's arsenal for achieving consistently tender, flavorful, and incredibly juicy chicken. By understanding the simple science behind it, adhering to the precise 5-6% salt solution, and respecting the brining times for different cuts, you can transform ordinary chicken into an extraordinary meal. No more dry, bland poultry—just succulent perfection every single time. So go ahead, give this method a try, and taste the difference for yourself!
