Mastering Chicken Brine: Perfect Salt Ratios for Tender Poultry
There's nothing quite as disappointing as a beautifully roasted chicken that, despite its golden-brown exterior, reveals dry, flavorless meat within. If you've ever dreamt of serving poultry that's consistently juicy, deeply seasoned, and incredibly tender, then mastering the art of the chicken brine recipe is your secret weapon. Brining transforms even the leanest cuts, ensuring every bite is succulent and bursting with flavor. Forget bland and dry; with the right salt ratios and a little technique, you're on your way to culinary perfection.
This comprehensive guide will demystify the brining process, focusing on the crucial role of salt ratios, optimal timing, and essential steps to achieve consistently tender and flavorful chicken, whether it's a whole bird or individual pieces.
The Science Behind a Perfect Chicken Brine Recipe
So, what exactly happens when you immerse chicken in a saltwater solution? The magic lies in osmosis and denaturation. A wet brine, essentially salted water, allows salt molecules to penetrate the chicken's muscle fibers. This salt then helps to denature the proteins, causing them to unravel slightly. During cooking, these altered proteins are less likely to seize up and expel moisture. Instead, they retain more water, leading to significantly juicier results. Furthermore, the salt dissolves some of the muscle proteins, reducing their ability to contract tightly, which contributes to the incredible tenderness.
Beyond moisture retention, brining also seasons the meat from the inside out. Unlike simply sprinkling salt on the surface, a brine ensures that every fiber of the chicken is infused with savory flavor, preventing that common complaint of "tasting good on the outside, but bland inside." While dry brining (salting the chicken directly and letting it rest) is another effective method, our focus here is on the tried-and-true wet chicken brine recipe, which excels at adding both moisture and deep flavor.
Crafting Your Ideal Chicken Brine: The Power of Salt Ratios
The cornerstone of any effective chicken brine is the precise salt ratio. Too little salt, and you won't get the desired tenderizing and moisture-retaining effects. Too much, and your chicken will be unpleasantly salty. The sweet spot, widely recommended by culinary experts, is a 5–6% salt solution. This translates to 50–60 grams of salt per 1 liter of water.
Let's break down the basic components for an exemplary wet chicken brine:
- Water: 1 liter (approximately 4 cups) – This is your base.
- Kosher Salt: 50–60 grams (about 3–4 tbsp Diamond Crystal or 2.5–3 tbsp Morton) – Accuracy is key here. Weighing salt is always more precise than volume measures, as different brands and types of salt have varying densities. If using standard table salt, which is much denser and tastes saltier, start at the lower end (around 40-45g) to avoid over-salting.
- Sugar (Optional): 15–25 grams (1–2 tbsp) – Sugar helps to balance the savoriness, contributes to browning, and can slightly mitigate any perceived saltiness. It's a fantastic addition but not strictly necessary for the brine's functional benefits.
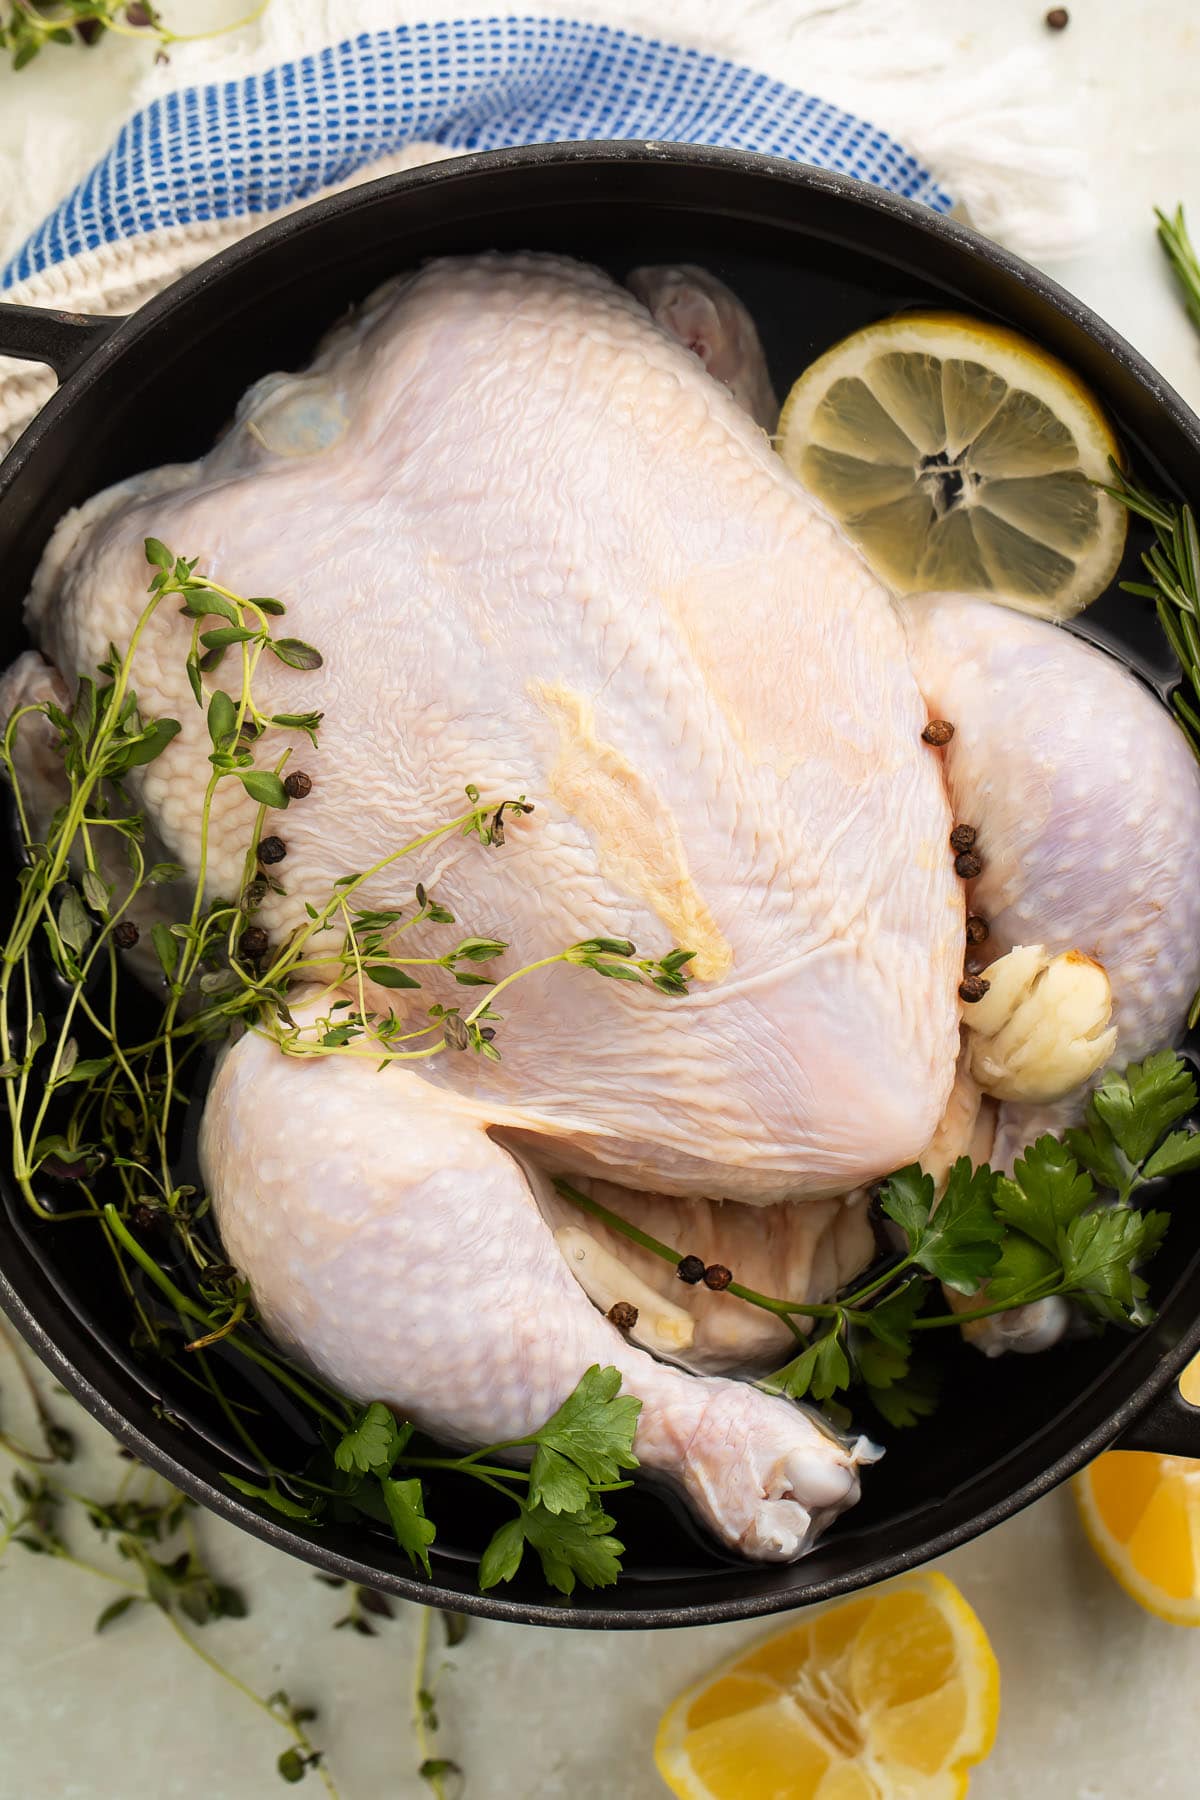
- Aromatics (Optional): For an extra layer of flavor, consider adding ingredients like 2-3 bay leaves, 6-8 whole black peppercorns, 2 smashed garlic cloves, a strip of citrus peel (lemon or orange), or fresh herb sprigs (rosemary, thyme). These infuse subtle nuances into the meat.
Scaling Your Brine: The beauty of the 5–6% salt ratio is its scalability. If you need more brine for a larger bird or multiple cuts, simply multiply all ingredients while maintaining that percentage. For instance, for 2 liters of water, you'd use 100-120 grams of salt.
Brine Ratios and Timing for Every Cut of Chicken
One size doesn't fit all when it comes to brining. The optimal brine strength and duration depend on the cut of chicken you're preparing. Generally, thinner cuts with less density require shorter brining times, while a whole chicken needs a longer soak to allow the brine to penetrate fully. The rule of thumb is: shorter soaks often pair well with a 6% brine, while longer soaks are safer with a 5% brine to prevent over-salting.
Here’s a practical guide to help you choose the right approach for various chicken cuts:
- Whole Chicken (1.3–2 kg / 3–4.5 lbs): Opt for a 5% brine for 8–12 hours. This extended time allows the brine to deeply season the entire bird.
- Spatchcocked Whole Chicken: A 5–6% brine for 6–10 hours works well. Spatchcocking (butterflying) exposes more surface area, allowing for quicker brine penetration.
- Bone-in Thighs or Leg Quarters: Use a 5–6% brine for 3–6 hours. These cuts benefit from a slightly longer soak due to their bone structure and fat content.
- Drumsticks: A 5–6% brine for 2–4 hours is usually sufficient for these smaller, meaty pieces.
- Boneless Chicken Breasts: Given their lean nature and tendency to dry out, a 5–6% brine for just 1–2 hours is perfect. Any longer, and they risk becoming too salty.
- Chicken Wings: A 6% brine for 1–2 hours will yield juicy, flavorful wings, perfect for grilling or frying.
For more detailed guidance on specific timing and how to adapt your brine for different cuts, explore our related article: Chicken Brine Recipe: Exact Timing & 5-6% Salt for Any Cut.
Step-by-Step Guide: Making, Cooling, and Brining Your Chicken
Executing a perfect brine is straightforward, but attention to detail, especially regarding temperature, is vital for food safety and optimal results. Here's how to do it:
- Dissolve the Salt (and Sugar): In a small saucepan or microwave-safe bowl, warm about 1 cup of your total water. Add the salt (and sugar, if using) and stir until completely dissolved. This ensures no undissolved salt crystals cling to the chicken.
- Chill the Brine Fully: This step is non-negotiable for food safety. Pour the warm salt solution into your brining container. Immediately add the remaining cold water and, crucially, a couple of handfuls of ice. Stir well. The goal is to bring the brine temperature down to fridge-cold (below 40°F / 4°C) before introducing the chicken. Never place raw poultry into lukewarm brine.
- Submerge the Chicken: Once the brine is thoroughly chilled, gently place your chicken (whole or parts) into the non-reactive container (glass, food-grade plastic, or stainless steel are ideal). Ensure the chicken is completely submerged. If it floats, place a small plate or a food-safe weight on top to keep it under the liquid.
- Refrigerate: Place the entire container in the refrigerator for the recommended brining time based on your chosen cut. Consistent cold temperature is essential to prevent bacterial growth.
- Rinse (Optional) and Dry: After brining, remove the chicken from the solution. If you used a 6% brine or brined for the maximum suggested time, a quick rinse under cold water can help remove any excess surface salt. Pat the chicken thoroughly dry with paper towels. Drying is crucial for achieving crispy skin when roasting or frying.
For a deeper dive into the hands-on process and additional tips for success, be sure to check out our article on How to Brine Chicken: Get Juicy, Flavorful Meat Every Time.
Beyond the Basics: Flavor Enhancements and Brining Best Practices
While salt is the star, the optional aromatics can truly elevate your brined chicken. Experiment with combinations like:
- Herbal: Rosemary, thyme, bay leaves, sage
- Citrusy: Lemon or orange peels (avoid the white pith to prevent bitterness), a splash of fresh juice (added *after* the initial salt dissolves and the brine is cold).
- Spicy/Pungent: Whole peppercorns, smashed garlic cloves, a few slices of ginger.
- Sweet & Savory: A touch of maple syrup or brown sugar in addition to or in place of white sugar, especially good for BBQ chicken.
Important Considerations:
- Don't Over-Brine: While brining is great, too much time in a strong solution can make chicken mushy or excessively salty. Stick to the recommended times.
- Container Choice: Always use a non-reactive container. Metal bowls (except stainless steel) can react with the salt and impart off-flavors.
- Food Safety: Always keep the chicken and brine refrigerated. Do not reuse brine.
Conclusion
Mastering a well-balanced chicken brine recipe is a game-changer for anyone who loves cooking poultry. By understanding the simple science behind it and adhering to the precise 5–6% salt solution, you can consistently achieve tender, juicy, and deeply flavorful chicken every single time. No more dry breasts or bland whole roasts; just perfectly cooked poultry that will impress your family and friends. So, next time you plan a chicken dinner, remember the power of the brine, and unlock a new level of culinary excellence in your kitchen.
